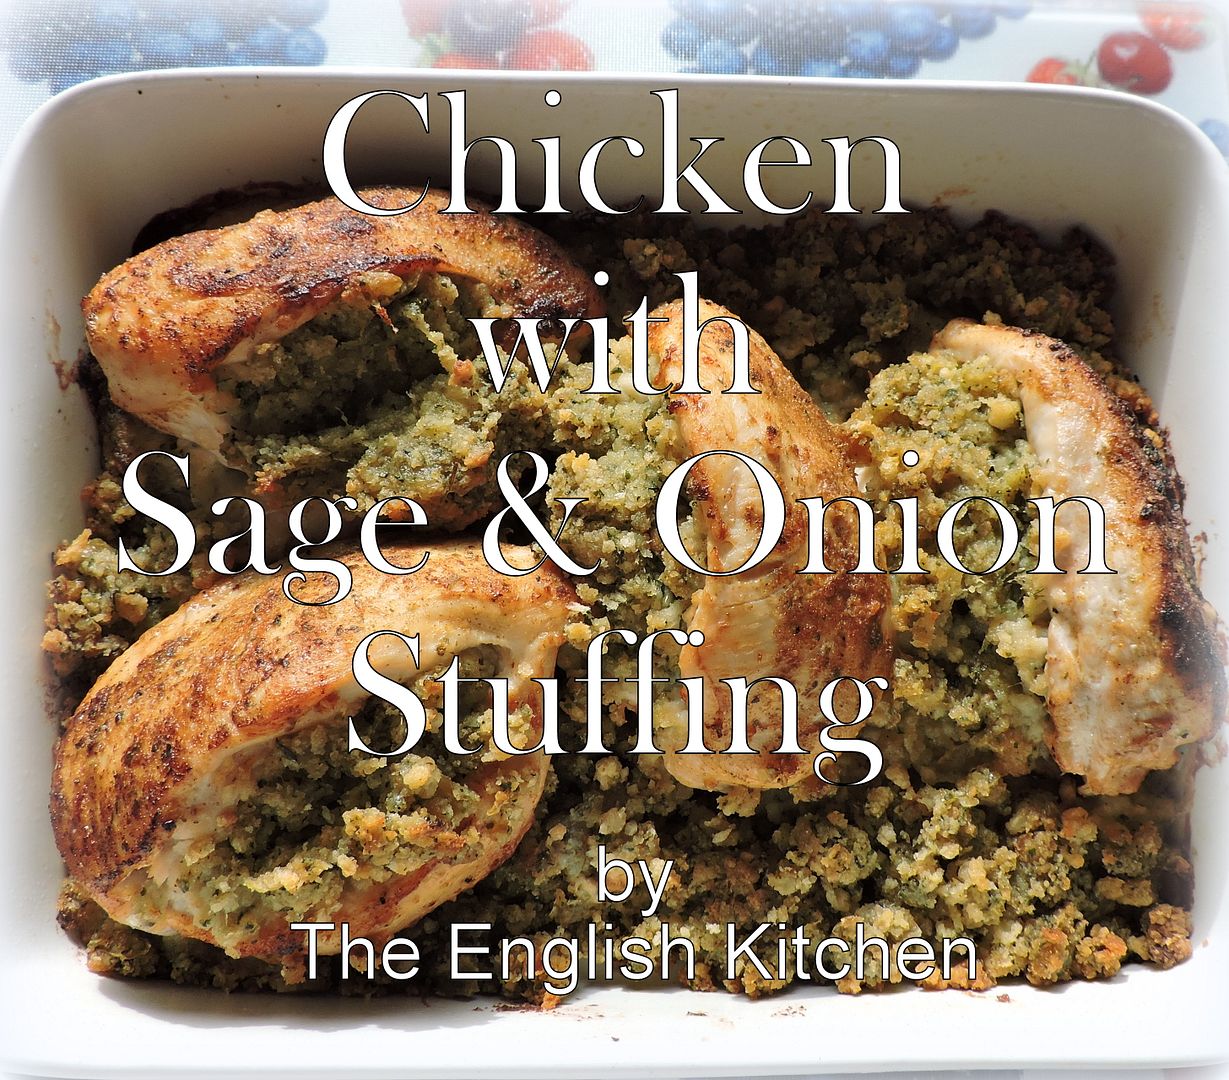
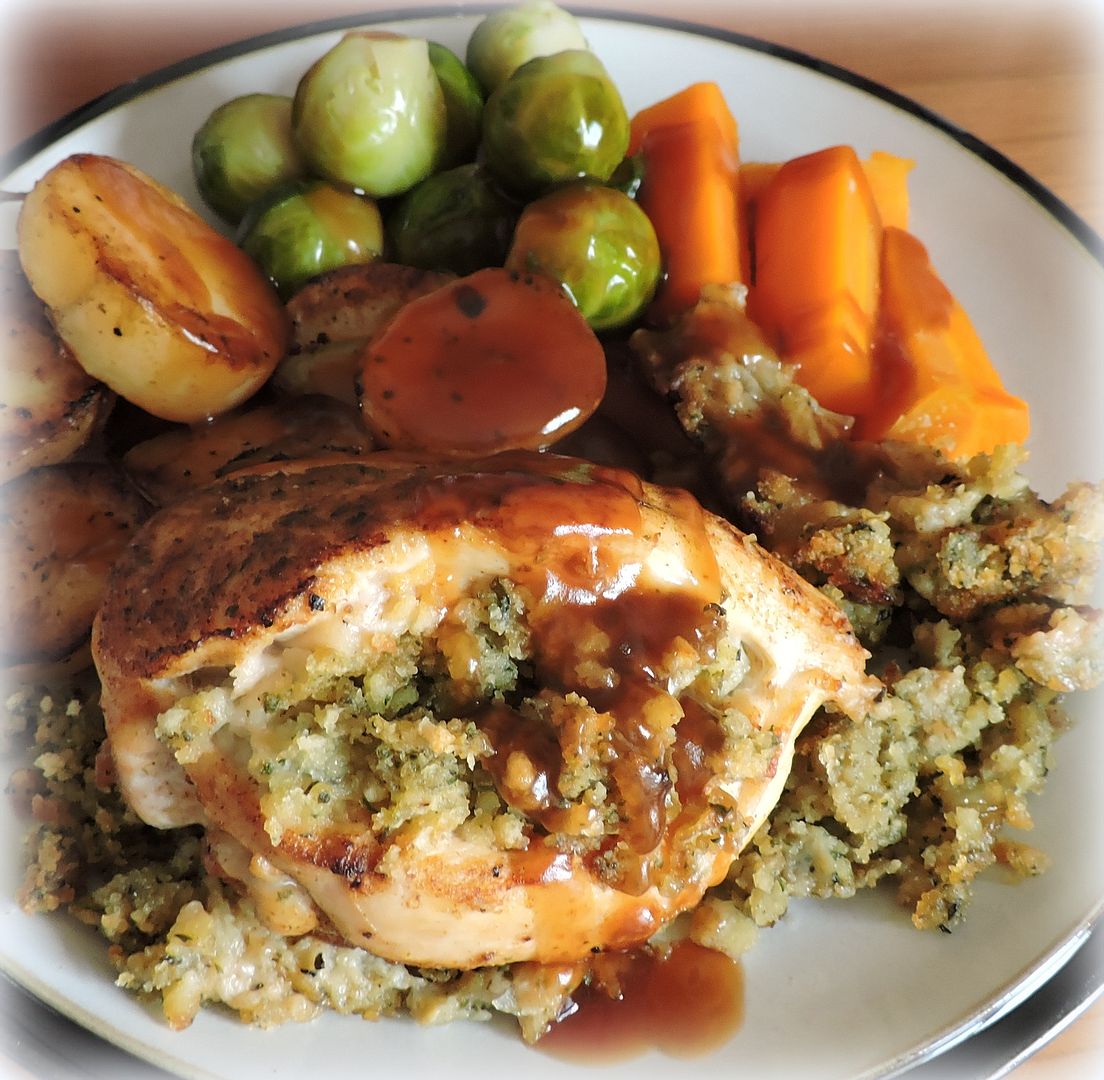
Sometimes you just crave the flavours of a roast chicken dinner, but you don't want to wait to roast a whole chicken in order to get it. Or maybe you are only a few people and you want a roast dinner, but don't want all of the hassle of it and the leftovers. This recipe today solves both of those issues and is totally delicious, simple to do and a very easy and economical dinner fix!
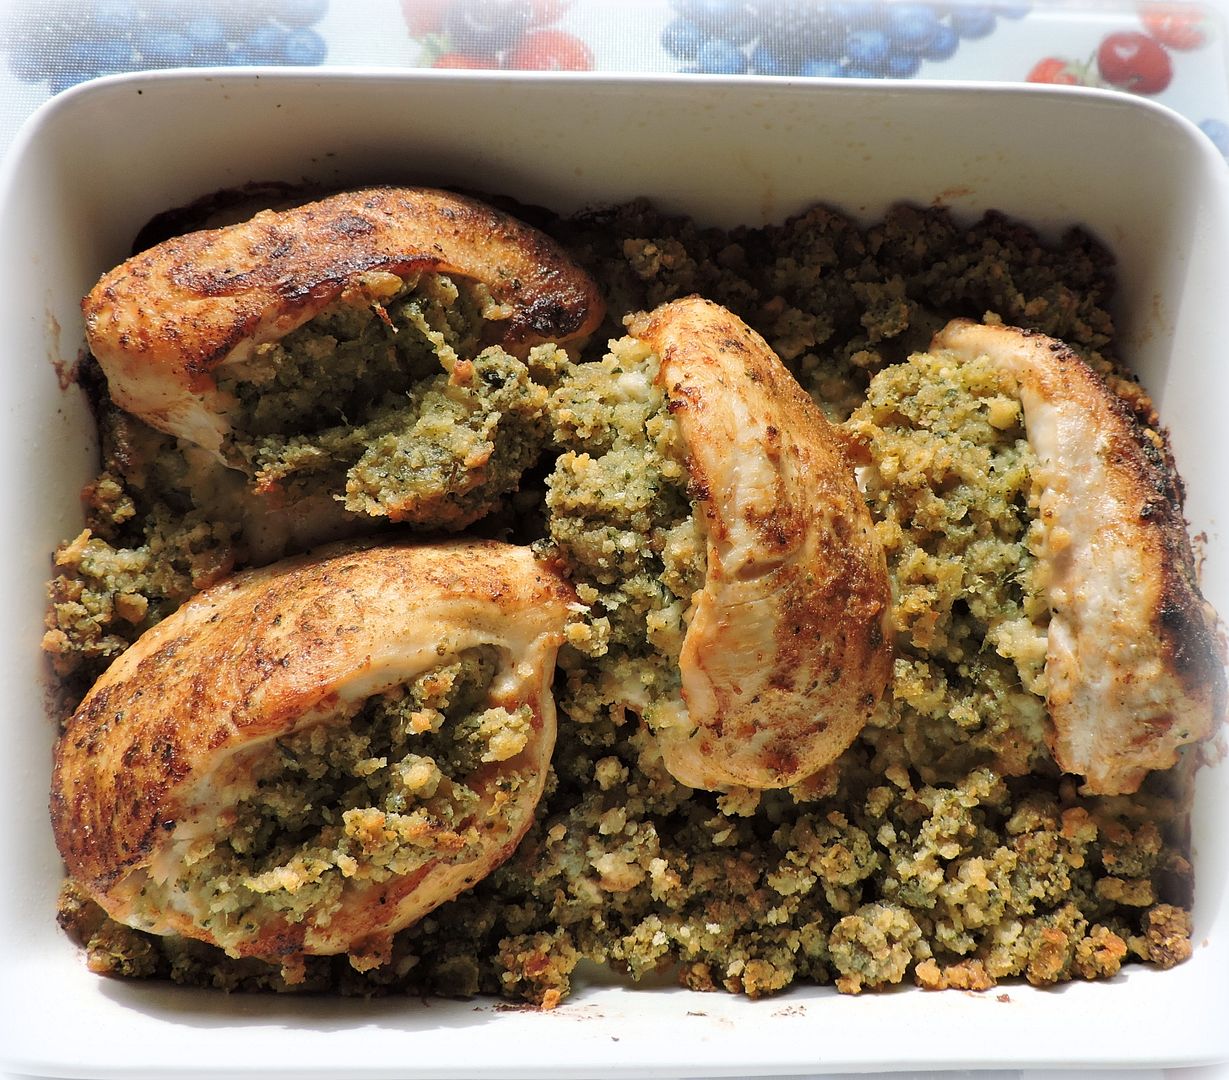
The chicken is never dry, but always moist . . . and its so tasty. I am not sure how it works, but cutting into the breast meat to make the pocket and then filling it with a deliciously easy homemade stuffing helps to make it quite tender and filled with flavour. Chicken breast on its own can be rather lacklustre . . . not so this!
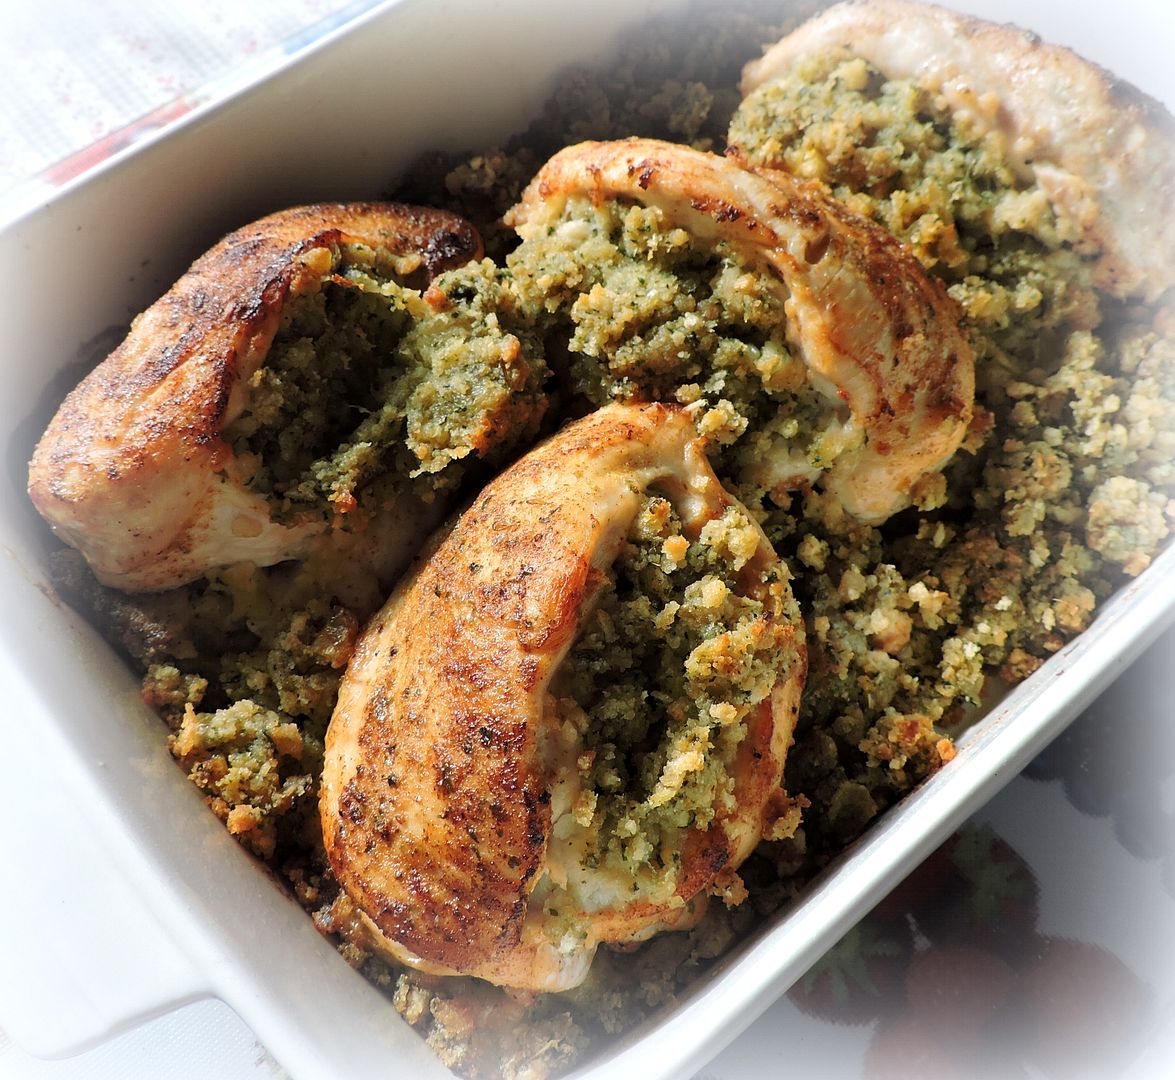
This is . . . dare I say it . . . darn it . . . I must. GORGEOUS. I have always loved sage and onion stuffing. Out of all the flavours of stuffing, it is my favourite kind. You could use a box of ready stuffing mix for this if you wanted to, but I really think stuffing from scratch is better, and it's really not that hard to do. Just make sure you have some stale white bread about in the house. (I crumb my stale bread and store it in the freezer so I always have soft white bread crumbs to hand.)
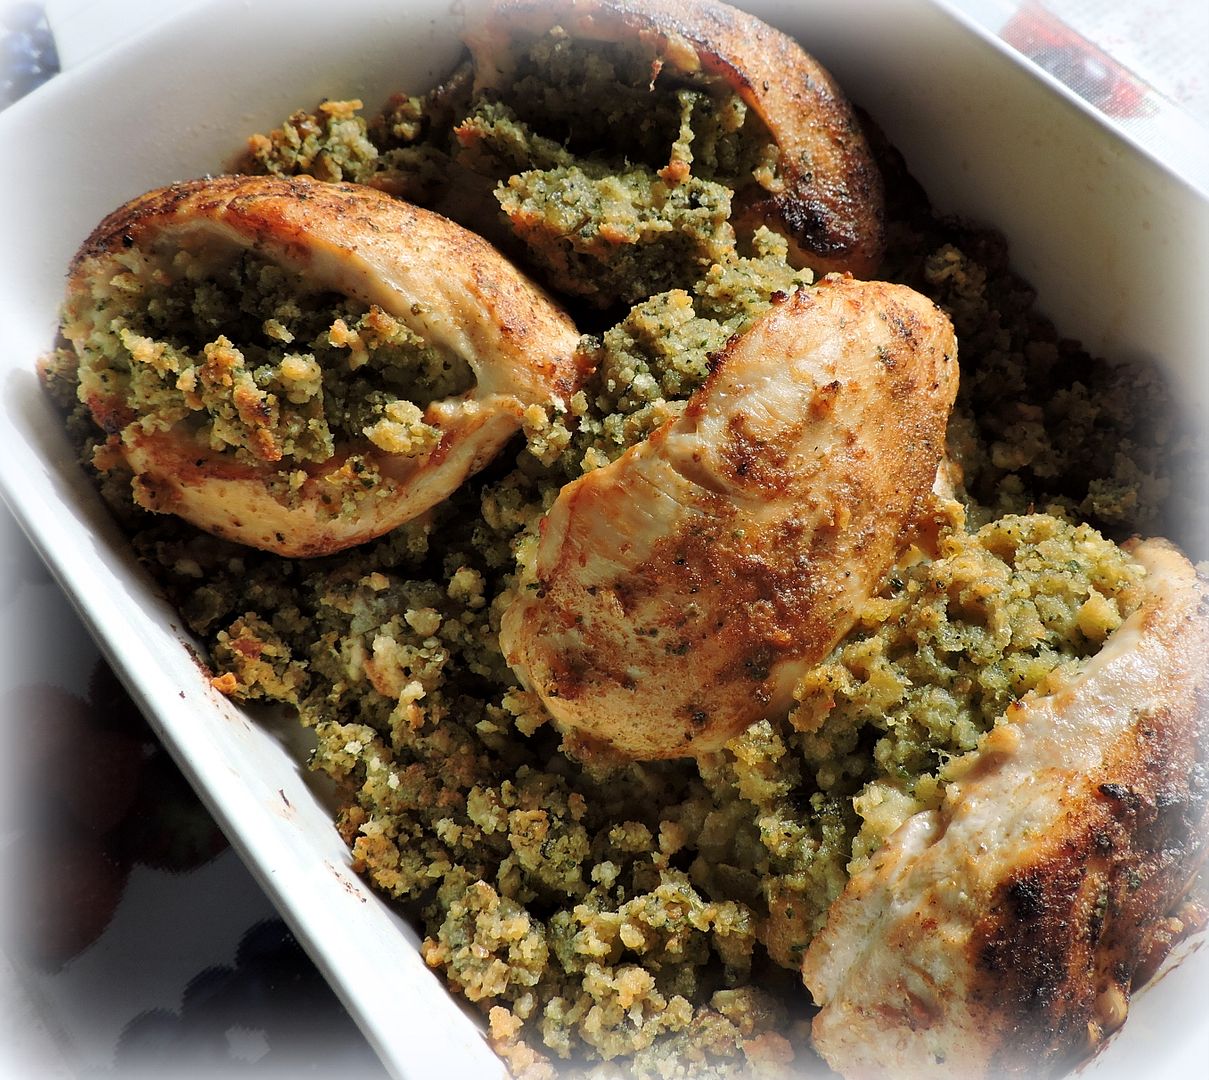
Did you know that stuffing is called dressing . . . when it is baked outside of meat and in a dish by itself, and stuffing, if it is baked inside the meat. You learn something knew every day.
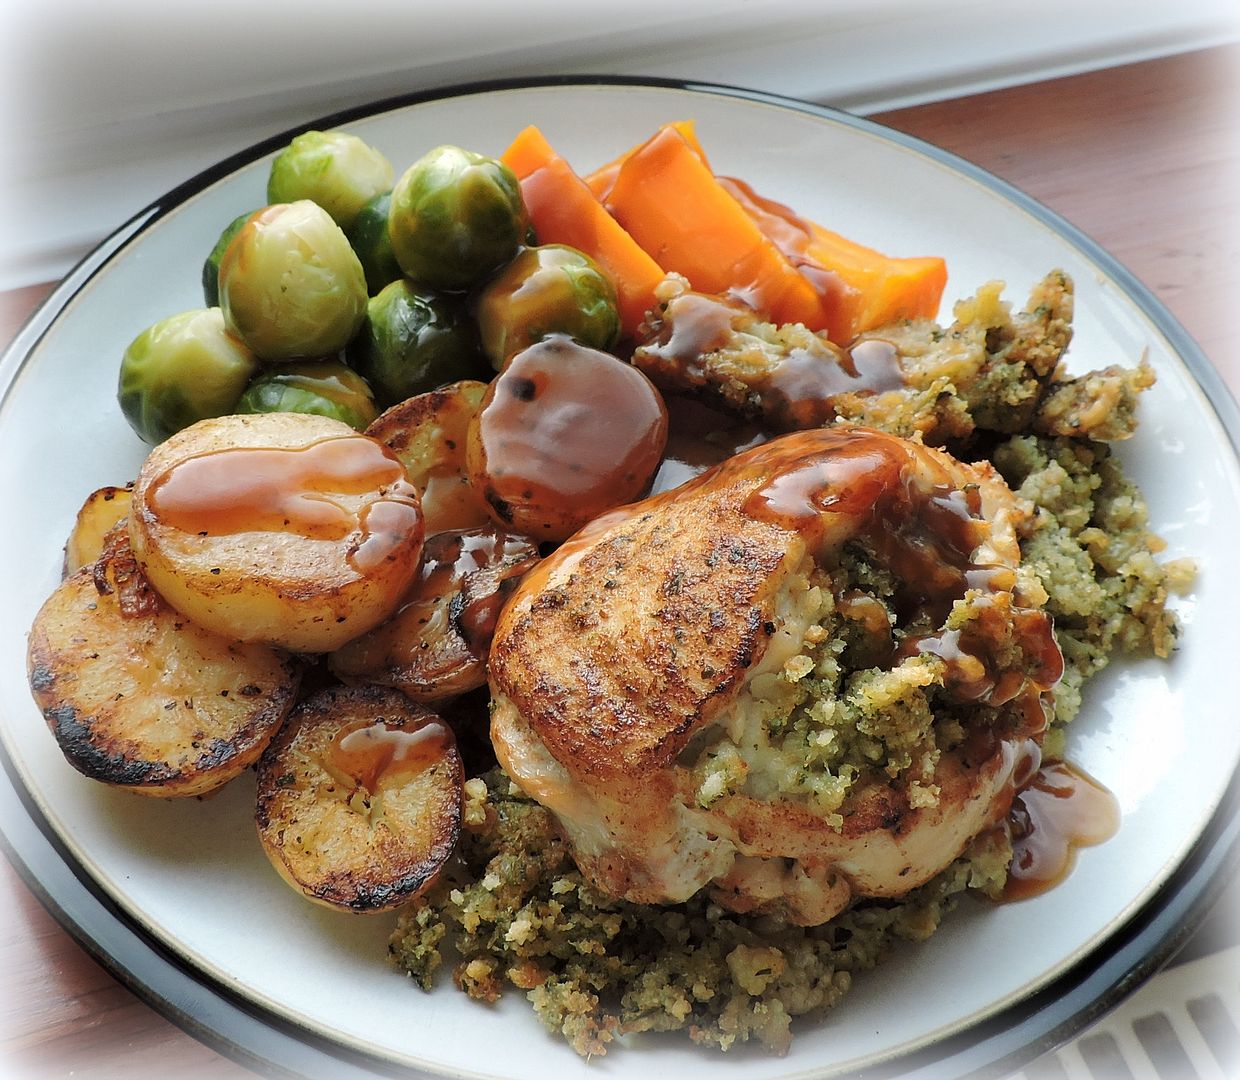
While the chicken is baking you can cook a few veg and make some gravy and then by the time your chicken is done, you have a whole roast dinner done. This day I simply browned up some leftover cooked baby potatoes and I steamed some sprouts and carrots . . . and yes, I used Bisto.
You won't have much in the way of chicken drippings to make a real gravy with.
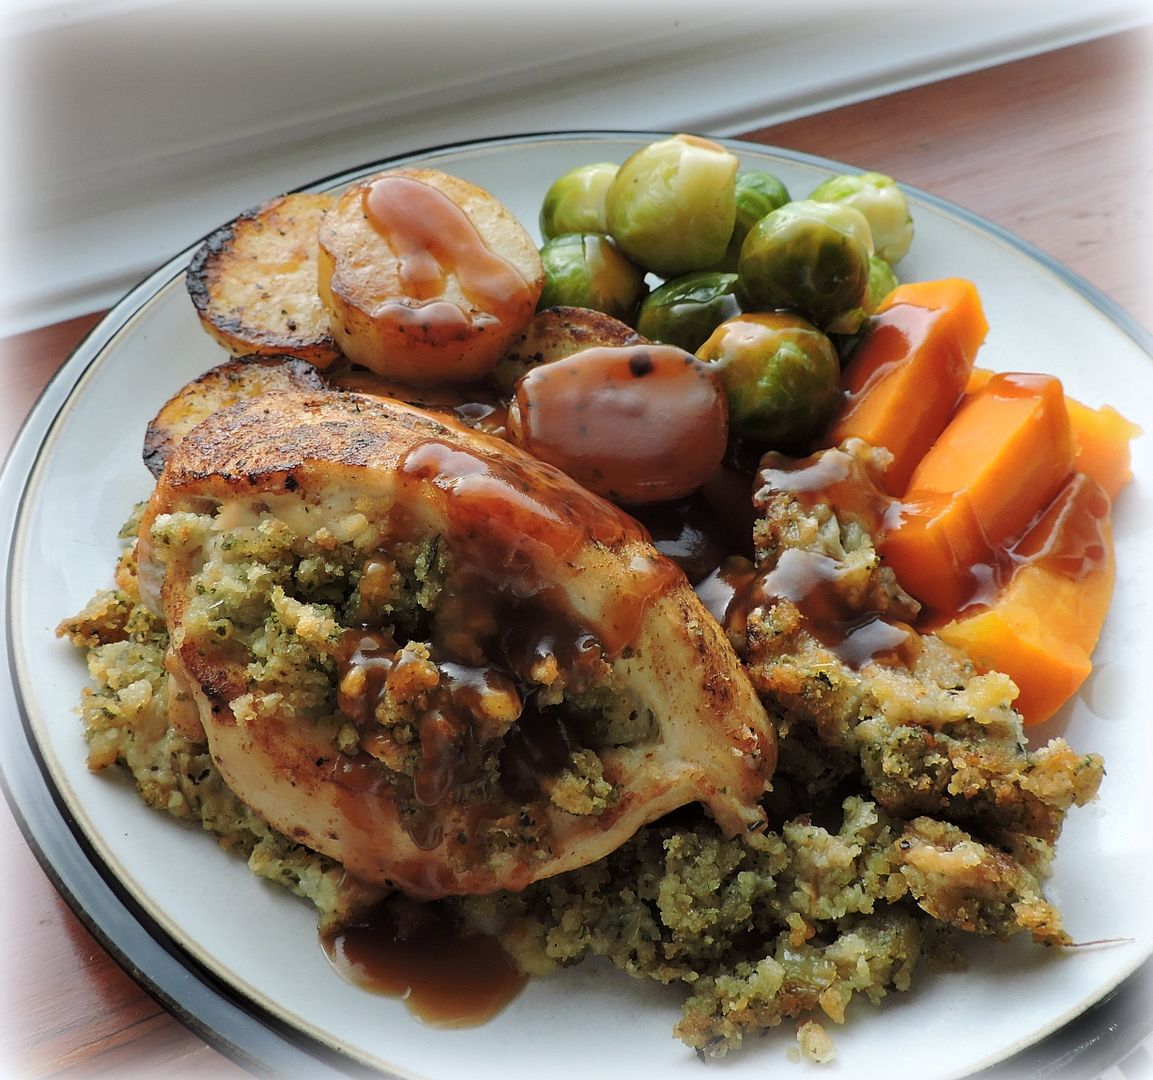
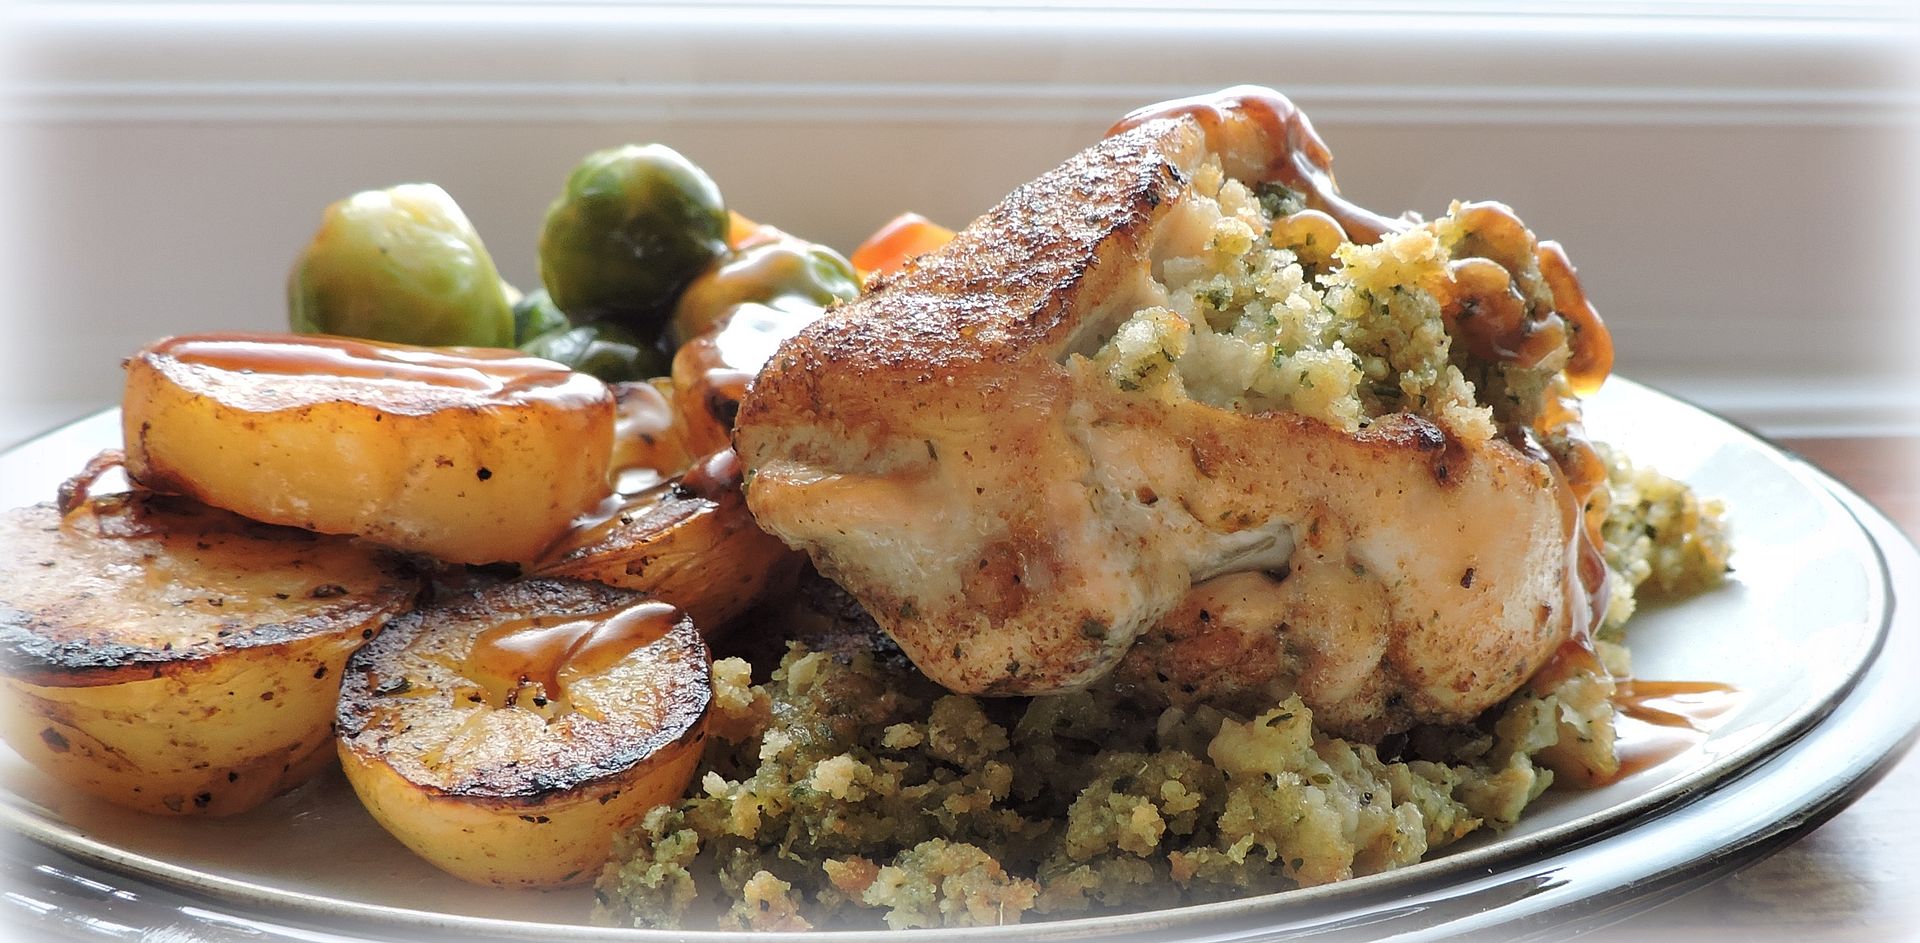
I am sure that you will agree that it looks most delicious! Or at least I hope you will! You have to try it. I am pretty sure you will love it. The only way it could be any better is if you added bacon. Ahem . . . so not going there . . .
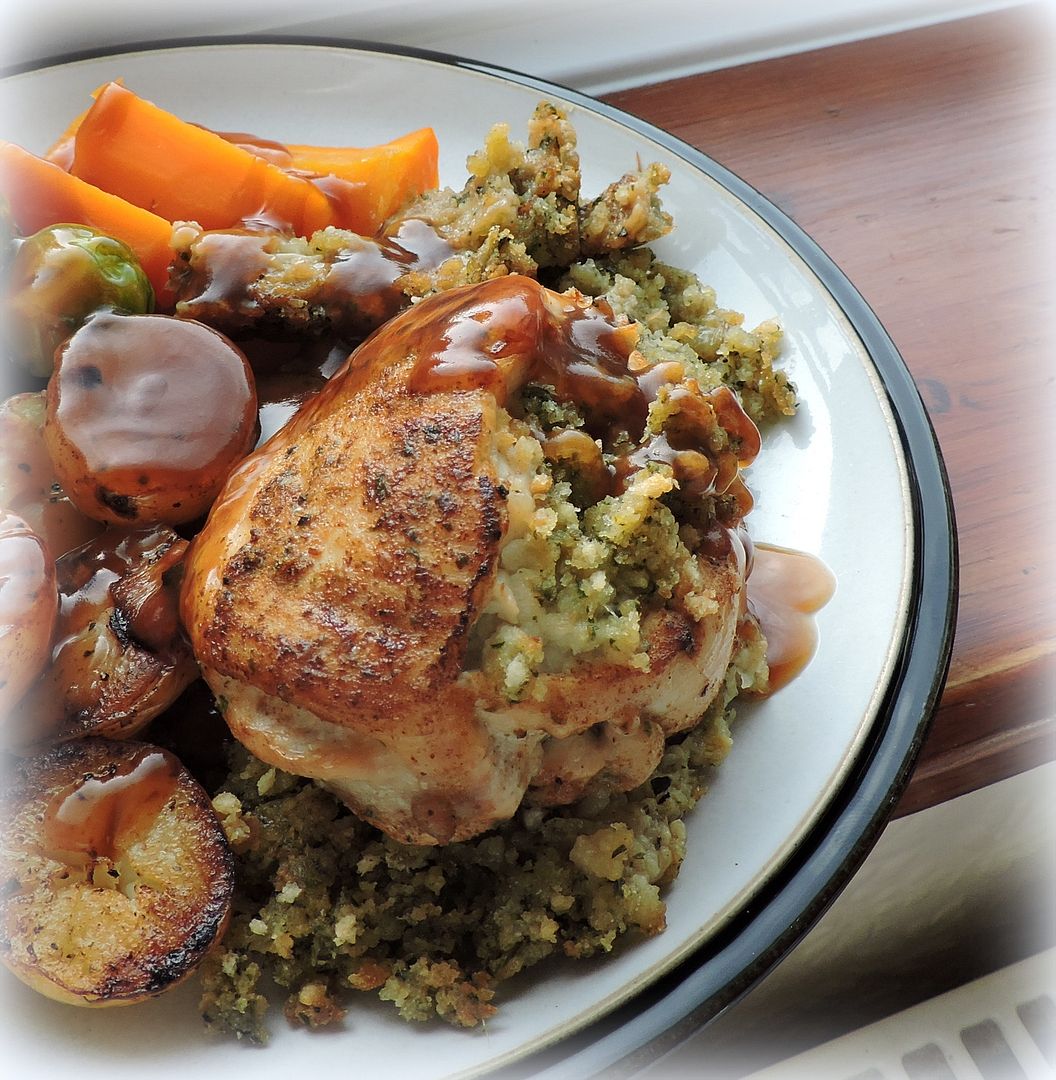
*Chicken with Sage & Onion Stuffing*
Serves 44 TBS butter
1 medium onion, peeled and finely chopped
2 TBS chopped fresh parsley
2 tsp chopped fresh thyme leaves
4 tsp chopped fresh sage leaves
fine sea salt and freshly ground black pepper to taste
200g of fresh soft white bread crumbs (about 3 1/2 cups)
You will also need:
1 TBS butter1 TBS oil
4 boneless, skinless chicken breasts
salt, pepper and garlic powder to season
butter to dot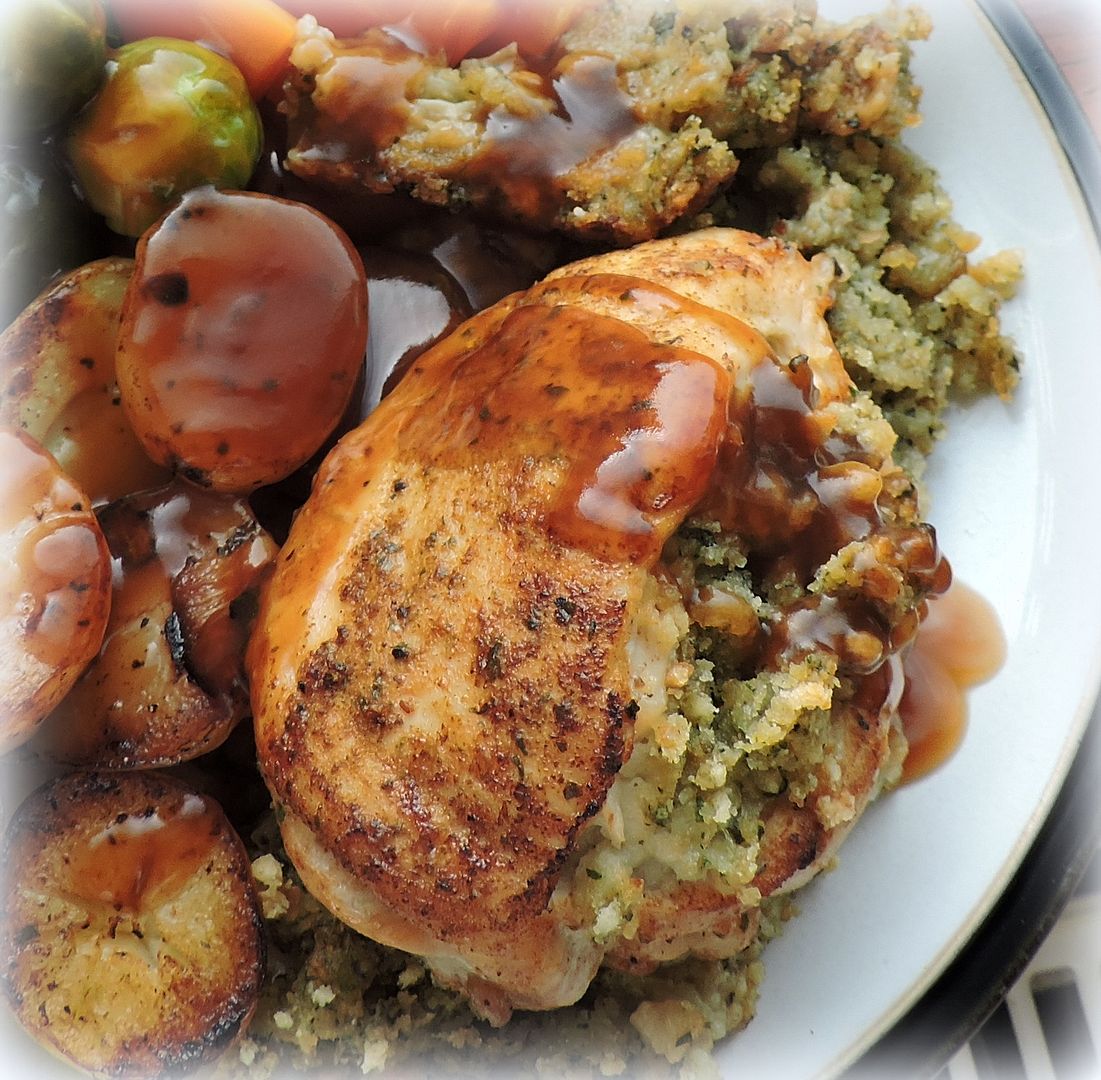
Bake in the preheated oven for 30 to 35 minutes, until the juices run clear. Uncover for the last five minutes of cook time.
Serve hot with some gravy and your preferred vegetables on the side, placing one stuffed chicken breast and some of the stuffing onto each of four heated plates.
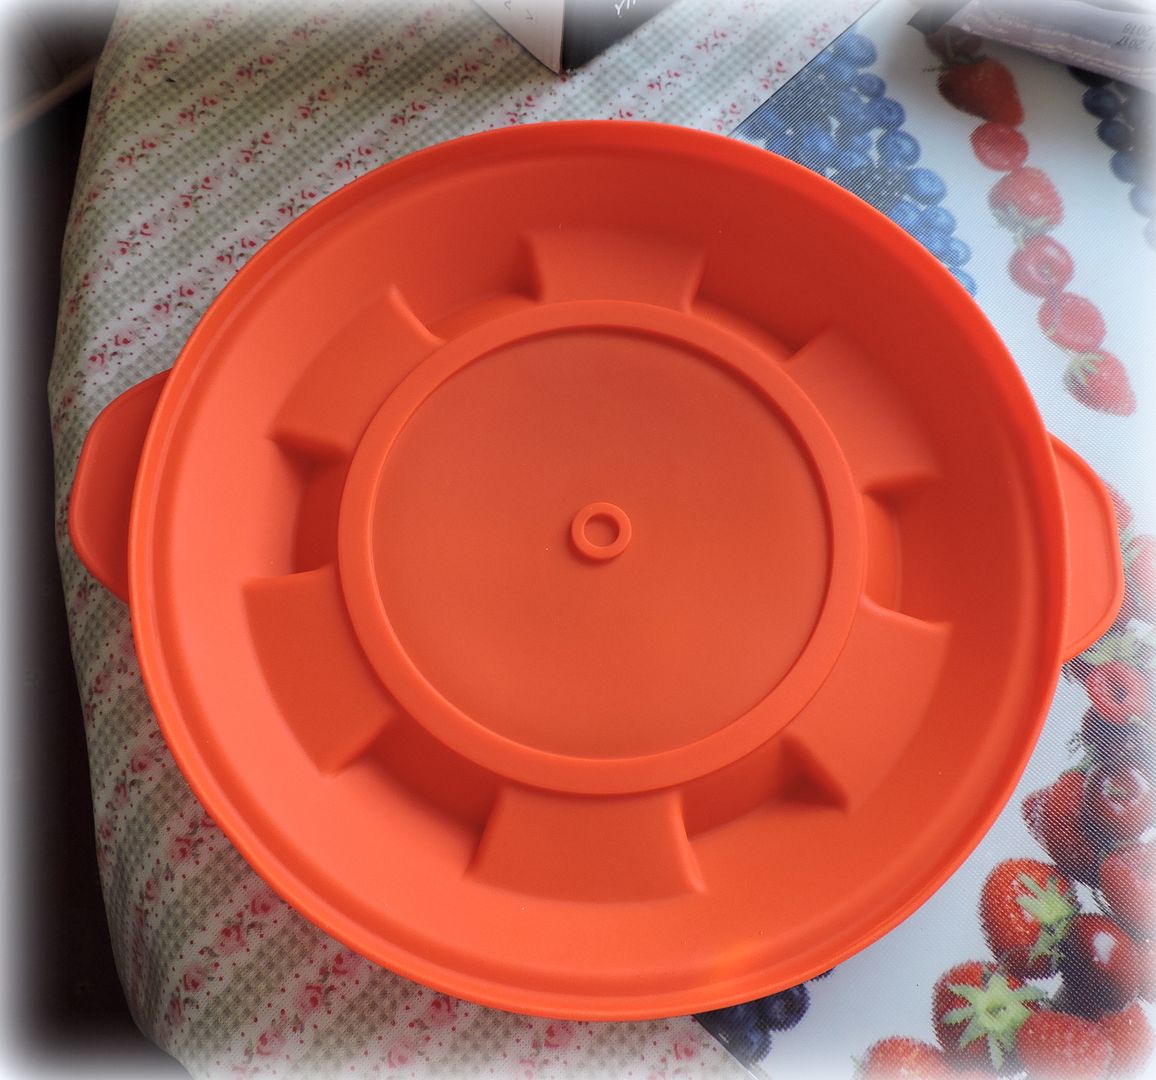
I used this neat new tool to steam my vegetables. I've been using it for two weeks now and I have to say I am very impressed. Meet the Smart Steamer Lid! The smart steamer lid is a culinary tool providing its uses with a foolproof predictive cooking system. It will allow any person to produce wholesome tasty food in a way not achievable by using a regular saucepan, at least until now! This unique and innovative product allows any user to develop an instinctive understanding of the cooking process enabling them to cook effortlessly without fear of failure.
The smart steamer lid works like a filter, allowing the heat out through the lid, but keeping the moisture locked in the pan.
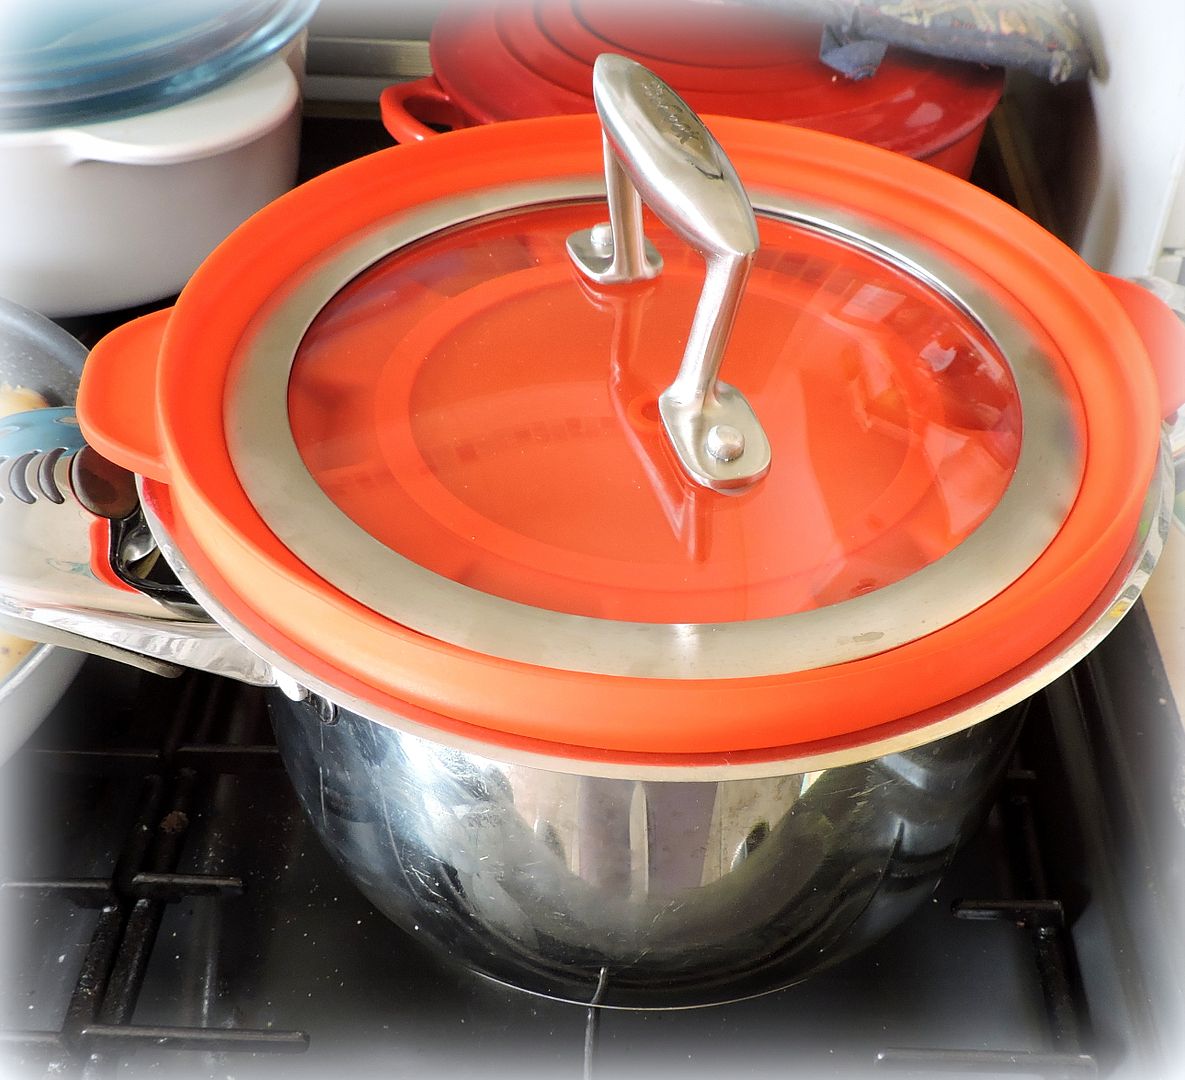
You simply place what you want to cook in the pan, add an amount of water and your food cooks in less time, using less energy, with all of the natural flavours locked in. You can use it for meats and fish, poultry, vegetables, rice. Meat comes out very tender. All of the vital minerals, vitamins, nutrients and flavours contained in raw food gets locked in with excellent results. It comes in two sizes (to fit standard or stock sized pans) and with a lifetime warrantee. Composed of Silicone it cleans up easily in the dishwasher.
It came with two little instruction booklets, one on how to use it to cook rice and the other one containing recipes and instructions on cooking other things, such as potatoes, vegetables, dried beans etc.
In order for it to work properly you will want the lid to fit snuggly into the saucepan. Once steam appears, you lower the heat under the pan and the lid will depress creating a bit of a vacuum. Food cooks more evenly and quicker in a vacuum. Did you know that? I didn't until I started using this tool. I am very impressed. To find out more check out The Smart Steamer Lid.
Advertisement
